
Here's an easy DIY project for you: sticky notes that you can customize or personalize to your heart's content.
I've been making my own personalized sticky notes for some time. They are inexpensive (compared to having them printed) and can be highly customized. I wasn't a huge fan of the templates I started out using, so I made my own, which I'm sharing today (8½x11" only right now -- I can do A4 if there is interest). The only drawback would be for anyone bothered by the virtual impossibility of having them in a perfectly square stack (see image).
- My templates (or make your own**). The PDF is the layout copy (with printed grid lines). The Word doc is the print copy (without printed grid lines) that you can customize to include your own text or art.
- 3x3" sticky notes If you want a different size note, see the details at the end of this post** to see how to make your own guides. (I'm avoiding naming brands in general, but I really do recommend Post-it notes: you want these to STICK during printing; I wouldn't trust dollar store notes in my printer.)
- Inkjet printer (I recommend printing the actual notes on an ink-jet printer, just to be on the safe side. The layout sheets can be printed on any kind of printer).
- MS Word (Open Office Writer should also work okay)
- Artwork (clipart, logo, etc.), or you can just type some text. To show that you don't need fancy software, I made my "logo" (above) in PowerPoint and saved it as an image.
How to make your own custom sticky notes:
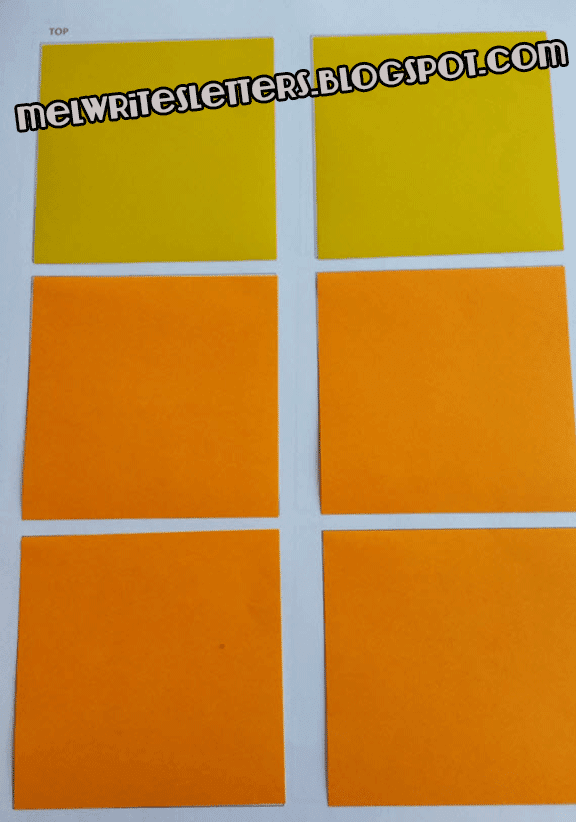
- If you have access to a copier, print one copy of the layout document, decide which will be your top edge* and mark it. Then make as many copies as you like (each will produce six notes).
If you don't have access to a copier, print as many copies of the layout document as you like, then mark the top on each page*. - Apply sticky notes to the squares on the layout, with the sticky edge towards the designated top edge (any other way might lead to paper jams).
- On your computer, add your details to the print version, making sure to rotate them so they'll be aligned to the real top edge of your note*. These guides are just a table and are not locked, so if you want text (e.g. "from the desk of...") at the bottom, consider using a text box instead of hitting [Enter] a bunch of times. The fun part is that you can do up to six different versions in one go, with different images, text, etc.
- Print this version onto the layouts that you've applied the notes to, making sure the top of the layout sheet is pointing in the right direction for your printer*.
- Peel notes off of the layouts and stack as best as possible.
* My old printer fed paper at the short edge, so I marked the actual top of the page as the TOP and aligned my notes accordingly. My current printer tray feeds pages along the long edge. so next time, I'll have to make one of the long edges the top to avoid jams. This makes things more complicated, because I will also have to remember to rotate the content in the grid so they'll be in the right place on the printed notes. I actually ran some tests through the old way and they were fine, but your mileage may vary. As always, I'm not an expert and cannot accept any responsibility for issues that arise with equipment I've never seen.
I may do a rotated version for printers like mine.
** All you need to do is create two almost identical versions of a document with the correctly-sized grids. On the layout version, the grid lines will print so you can align your notes. On the print version, the grid lines should NOT print. Only what you add to the spaces intended for your notes will print.
No comments:
Post a Comment